In the article, the horn was very simple to make, comprising of a speaker that was hooked up to a siren module that was, in turn, hooked up to batteries and a switch.
The whole horn was housed in a tin can that was attached to a piece of wood which served as a handle for the horn.
Intrigued by the idea, I decided to give the project a go, but with some modern twists, taking advantage of some tools that I have at my disposal that would have seemed to be complete science fiction back in 1968.
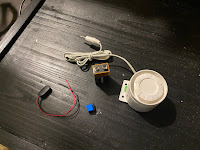
Looking at the project, I knew that I could fairly easily condense the speaker and siren module into a single unit by using a small 12-volt security system siren that I had picked up on my last trip to the surplus store (to be honest, I couldn't get the siren module listed in the article even if I wanted to, since the company that made it has virtually disappeared from the face of the earth some time in the past 50 years).
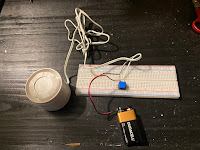
Playing around with the siren, I noticed that I could still get quite a large amount of sound from the siren by just using a 9-volt battery, which was great news since that meant that I could keep the horn at a reasonable size, without the need to have a huge wad of batteries to make up 12 volts.
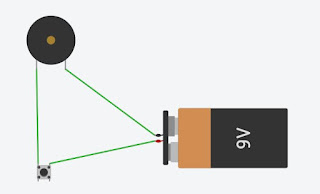
With those details, I could create a very simple circuit to make my horn work which would basically just be the siren hooked up to a push-button switch that is used to activate the siren, and the battery with an appropriate connector,
While I know I could quite easily recreate this housing today for that cool retro feel, I did want to update the project to the 21st century and take advantage of all the nice tools that we have at our disposal today.
In keeping with that idea, I set about to design a housing for the horn in Tinkercad that I could then create on my 3D printer.
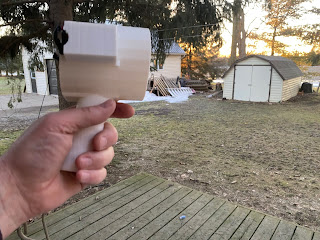
The design was pretty easy to create. I started by creating a tube in Tinkercad that was about 4 inches long and had an outer diameter of 3 inches. I made the inner diameter hole in the tube to be the same diameter as the siren.
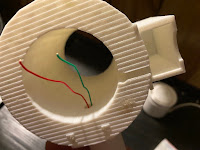
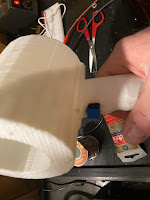
Next, I found a design for a pistol grip in Tinkercad and grafted it to one end of the tube. When the grip was attached I also created an opening in the grip that extended up into the inside opening of the tube to allow mounting and wiring of the switch.
For mounting the 9-volt battery I decided that for the sake of convenience, I wanted the battery to be located on the side of the tube, allowing for easy replacement or disconnecting of the battery. Within Tinkercad, I found a design for a 9-volt battery clip, which I grafted to the side of the tube, near the pistol grip.
With the design figured out, I then let the 3D printer do its thing.
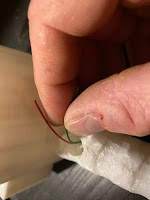
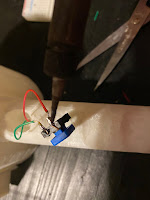
Next, I soldered the 2 wires that were coming out of the pistol grip to the terminals of the push button switch and I seated the switch into the opening of the grip, sealing the base of the switch with some silicon sealant to provide some waterproofing.
With the completion of the electrical connections, it was now time to button things up.
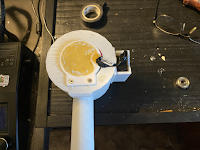
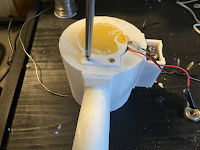
I tucked the wires in around the siren's housing, leaving a few inches of the wire for the 9-volt connector sticking out and I carefully slid the siren into the back end of the horn housing.
The siren had a mounting tab on the back of it, which made it a simple matter of securing the siren to the housing with a couple of small machine screws. If I didn't have that tab, I could have also simply glued the siren into the housing with some plastic cement.









No comments:
Post a Comment