We have a bit of a strange problem in my house when it comes to the dishwasher. The rule here is the one person loads and turns on the dishwasher while someone else is tasked with the job of unloading it.
A bit of an ongoing issue has started to happen with the recent installation of the new dishwasher. With the old dishwasher, everyone knew when the dishes were being washed based on all the racket that was coming from it. Since the new dishwasher is so quiet, you really don't have any way to know when the dishes are clean, which causes a bit of tension when it's discovered that the dishwasher is still full of clean dishes several hours after being washed.
I suspect that this is a fairly common problem in a lot of households since I have noticed that you can quite easily get magnets that you can stick on your dishwasher that say "Clean Dishes".
While I suppose I could easily get such a magnet to stick on our dishwasher, but since we tend to be a bit pre-occupied with other things, I have my doubts that a plain old magnet is just not going to get much attention around here.
We needed something that would be a bit more eye-catching.
The other day I ordered a box of 5mm LEDs, with the idea that I could make a bunch of mood lights based on the one that I made in my last post that I would give away as gifts.The LEDs were a very nice assortment of colors, including some colors that I hadn't seen before, so I was a bit interested in trying out one of these strange colors in a project.
The LEDs are also quite bright, so they definitely were very hard to miss when they were on.
Perfect for signaling that the dishwasher needed to be emptied.
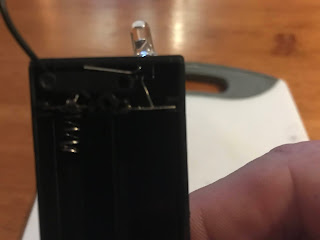
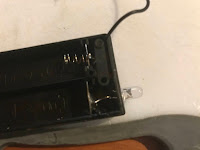
The project I had in mind was simplicity itself, basically, a battery, a switch to turn the LED on or off, and of course the LED itself.
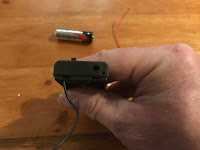
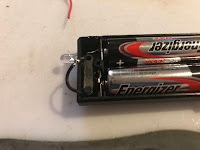
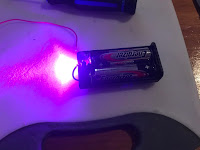
In my parts box, I had on hand an enclosed battery box that had a built-in on-off switch. The battery box held 2 AA batteries that would put out 3 volts of power to the LED. These battery boxes are pretty easy to get a hold of and are pretty cheap to buy (I got this one at my local surplus store for about 50 cents)
The battery box also had two wire leads coming out of the box through a hole in the top of the box.
Looking at the LEDs in my box I picked out one that was labeled as Pink. I don't think I ever have seen a pink LED before, so I was pretty interested in seeing how it looked. Doing some searching online indicated to me that pink LEDs had an operating voltage of 3.2 to 3.8 volts - meaning that I could just simply hook the LED directly to the terminals on the battery box with no need to add any resistors to reduce the voltage - Really Simple!
Granted this is a very easy project to build, but certainly is a lot more elegant solution than sticking a magnet on the door!









No comments:
Post a Comment