With the body of the aquarium stand out of the way, the last major component to build the base of the stand.
Since the base of the aquarium stand is going to have to carry the full weight of the aquarium along with the stand itself, I needed to engineer in a lot of extra strength into the base, however, I needed to make sure that it reflected the character of the rest of the stand.
To build in that strength, I decided to have the stand predominately built out of a much heavier material - 2X4 lumber.
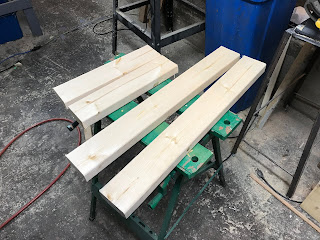
To start the build, I took an 8-foot length of 2X4 and cut out two 27.25 inch planks from it. These 2 planks are the same length as the top of the stand which will give the stand the pedestal look that I am looking for.
After some careful thought, I decided that it would be in my best interest to make the base of the stand a little bit wider than the top. The reason for this decision goes back to my aim to make the base as strong as possible,
My plan is to have the middle of the base made out of 3/4 inch plywood in order to make it blend in as well as possible with the body of the stand, with the 2X4 planks acting as a frame for the plywood middle. To increase the strength, my intent was to cut a 3/4 inch notch on the inside edge of the 2X4 frame to act as a cradle for the plywood to sit in. providing a maximum amount of surface area for securing the 2X4 and plywood together.
I also made the decision to have the body of the stand to sit squarely within the plywood of the base.
With that in mind, I decided to make the width of the base to be 17 inches, which would give me a 3/4 inch frame around the plywood in the 2X4 planks. With that, I also cut up with two 17 inches long pieces of 2X4.
Next, I put a decorative edge along the length of one corner of all the planks, again using the Ogee bit on my router table.
Next, I set up my table saw so that the blade was set to a height of 3/4 inches and the fence set 3/4 inches from the blade.
Once I had it all set up I then cut out a 3/4 inch X 3/4 inch notch on the corner of the planks that were on the opposite side to the edge that I just routed.
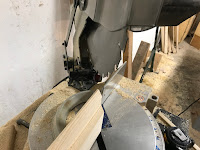
Next, I cut 45-degree angles on each end of the planks, making sure that the "long" side of the angles was on the side of the planks that had the routed edge. I also made sure that I did not shorten the overall length of the planks as I made the cuts.
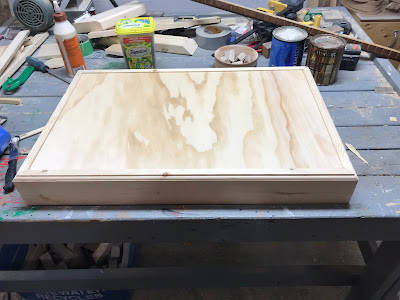
With all the angles cut then I assembled the frame by applying wood glue at each of the 45-degree corners and assembled the 27.25 inches by 17-inch frame together with the help of corner clamps.
When I was clamping the corners together I made sure that the joint was as tight as possible to make sure that I had a pure 90-degree corner and that there were minimal gaps in the joints.
/While the glue was drying, I took the opportunity to further reinforce the underlying structure of the base by adding corner blocks to the inside corners of the frame.
I made the corner blocks out of scraps of 2X4 that I had leftover, I cut the blocks into 4 triangles, with each side of the triangles cut at a 45-degree angle.
I installed the blocks to the inside corners of the frame with some wood glue and 1-inch brad nails.
I then left everything set overnight until the glue dried.
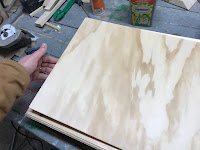
Once the glue had dried I then cut out a 15.5 inch X 25.75-inch sheet of 3/4 inch plywood.
After running a bead of wood glue along the inner notch of the frame, I seated the plywood inside the frame.
This effectively completed the build for the base of the aquarium stand,
However, I did want to err on the side of caution and add a little bit more reinforcement to the base, particularly directly underneath where the body of the stand will be situated.
To add that reinforcement I cut a 2.75-inch thick piece of lumber out of another 2X4 that I had on hand and cut that board to a length of 14 inches.
Flipping the base over to expose the bottom of it, I then installed this board in the middle of the base bottom with some wood glue.
As always, one of the shop supervisors was on hand to provide direction.
Once the glue dried, I flipped the base right side up to signal the formal end of the build.
Before I do that though, there is still one small thing left to build - but that will be for my next post.


No comments:
Post a Comment