In my last post, I sketched out a bit of a design for an aquarium stand that I wanted to hold a tank to house George, our tame Sunfish.
With my plan of attack determined, it was finally time to head into the shop and start building.
As I previously mentioned, I designed the aquarium stand to be constructed in three distinct parts (top, body, and bottom).
Since the stand will be custom-built for the aquarium, the first logical step would be to start from the top.
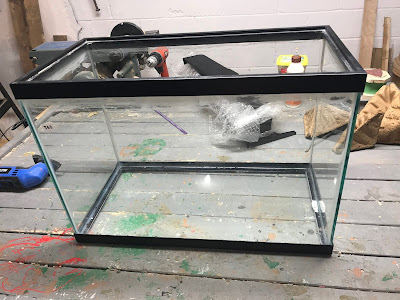
The first step in the process was to find out the footprint of the tank.
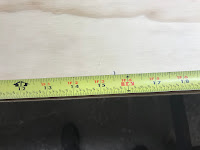
After some quick work with the measuring tape, I determined that the aquarium was 24.25 inches long and 12.5 inches wide
While I could have just simply cut a 24.25" X 12.5" piece of plywood and be done with it, as I mentioned in my last post, I did want to have a bit of an edge around the outside of the tank bottom to serve as additional reinforcement.
I also wanted to use common construction lumber (2X4 and 2X6) as part of my bid to keep costs down. This type of lumber is usually cut at a thickness of 1.5 inches.
Therefore, in order to use that type of lumber, I need to make allowances to the size of the top that I need to cut from the plywood.
To factor this in, I needed to add an extra 3 inches (1.5 inches X 2) to the length and width of the top. More specifically, I needed to cut out a top that was 27.25" X 15.5"
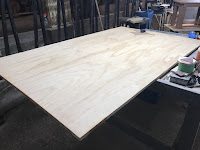
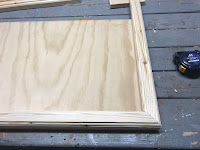
Armed with that knowledge, I cut out a piece of 3/4 inch, good one side plywood to that size.
Next, I focused on cutting out the edge pieces.
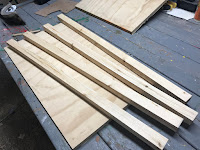
Taking a 3-foot length of 2X6 lumber, I ripped the board with a table saw so that I had four 1.25 inch X 1.5-inch strips
Since these strips are going to be one of the more visible features of the aquarium stand, I did want to give them a bit of decorative flair.
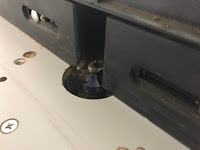
Using an Ogee router bit, I positioned the strips on the router table so that 1.25 thick sides of the strips were laying on the top of the router table and cut a decorative edge on both sides of the strips.
Next, I cut two 27.25 long strips with 45-degree cuts at each end of the strips.
When making the 45-degree cuts, I made sure that the "long" end of the angles was on the same side of the strips. I also made sure that the side of the strips that had the routed edges were on the "up" side of the strip when making the cuts.
It is also very important that the corners of the strips will form very tight corners when joined by another strip cut at a 45-degree angle - so I usually do a test fit with another strip with a 45 degree cut to confirm the accuracy of the cuts.
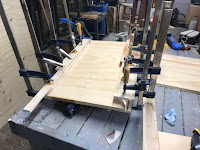
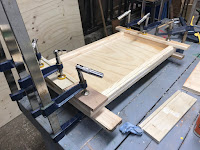
Once I was satisfied with my cuts, I attached the strips to the long sides of the plywood top with some wood glue and clamps, making sure that the strips were flush to the edge of the plywood.
Once the long strips were attached, I then cut the short strip edges to length, again with 45-degree cuts on both ends.
I also glued and clamped them in place.
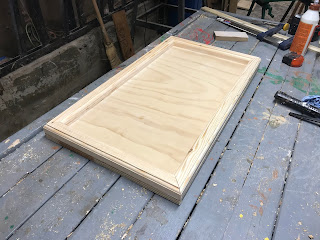
Once the glue had dried and I removed the clamps, the basic construction of the top of the aquarium stand was effectively complete.
As a quick quality check, I gave the aquarium a quick test fit, ensuring that the tank had a proper fit into the recess that was formed by the strips ringing the top.
It should all fit properly - if not, a little bit of sanding of the inner sides of the strips will fix that
Once I was happy with the fit, I then gave everything a quick sanding.
While plywood is a very strong and versatile material to work with and for the most part, gives a really nice real wood look, it does have one small drawback.
The "end grain" of plywood comprises many layers of wood that have been glued together - which gives it a bit of an artificial "manufactured" look - which tends to spoil the real wood illusion.
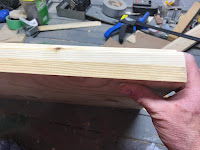
To maintain the image of real wood, I addressed the exposed plywood edges by laying a veneer strip along the edges.
The veneer usually has a pre-glued backing which is activated by heat - usually from a common clothes iron.
To install the veneer, I simply just cut a strip of veneer to the necessary length and I attached the veneer to the plywood edge by putting firm pressure on the veneer with an iron set to high heat (of course, make sure the pre-glued side of the veneer is facing the plywood - otherwise you will get a really gummed up iron)
Once the veneer has been applied, the top is complete.
Next, I will start working my way down and build the body of the aquarium stand












No comments:
Post a Comment