In my last post, I went over the construction for the top of the desk. While we now have a really nice work surface, it's not really much good without something for it to sit on.
So our focus this week will be on creating the body for our desk.
As I mentioned in the last post, the main goal was to make the desk as easy and inexpensive to build as possible. In keeping with that theme, the body for the desk is entirely made from two 24" X 48" sheets of plywood and four 4 foot 2X2 pine posts.
We first start the build by focussing on the four 2X2 pine posts. These posts will serve as the legs for the desk. The first thing that I did was to trim the posts down to a length to establish the height for the desk.
Setting the desk height is very much the preference of the person that will be using it. It is probably a good idea to "test fit" the height with the person that is going to use the desk before you make any "permanent" cuts.
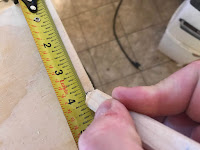
In the case of this desk, the recipient decided that a desk height of about 44 inches was the ideal height, which meant that I had to cut the pine posts to a length of about 43 inches (in order to account for the thickness of the desktop, which as you recall, is a 3/4 inch sheet of plywood).
Once the posts were cut to size, I then rounded over all the edges of the posts using a round over bit on my router table.
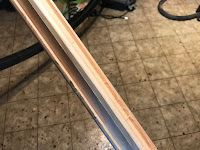
The next step in the process is to add some slots to the sides of the posts in order to facilitate a nice tight bond between the plywood and the posts.
The grooves need to be 3/4 inch wide (the same thickness of the plywood) and cut to a depth of about 1/4 of an inch.
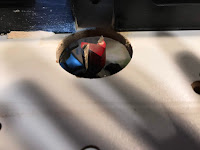
To cut the groove, I changed my router over to a 3/4 inch straight bit and set the cutting depth of the router to 1/4 inch.
I also adjust the fence on the router table so that the groove would cut down the center of the post.
I had decided that I wanted the plywood sides of the desk body to be 23 inches wide. What this meant was that I also needed to ensure that the grooves that I would be cutting into the posts would also be 23 inches long.
To make sure that all the grooves were consistently cut at that length, I employed a little trick.
I positioned my router table so that the "back" end of the router bit was exactly 23 inches from the wall. This way when I am running the post through the router - when the end of the post hits the wall, my groove is 23 inches long.
I routed a groove along one side of each of the 4 posts. Next, I added another groove on a side adjacent to the groove I just cut on 2 of the posts. These 2 posts will serve as the back of the desk body and will need to connect the back plywood panel to the side plywood panels.
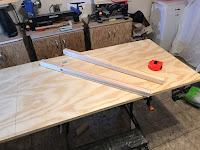
With the posts prepared, the next step was to cut the plywood back to the proper dimensions. I first started with a pre-cut sheet of 2" x 4' good one side 3/4 inch plywood and cut the length of the sheet to 43 inches.
The reason for this is that even though the top of the desk utilized a full 2' x 4' sheet of plywood, we do need to shorten the back a little in order to accommodate the 3/4 inch bracing strips on the back of the desktop and to allow some room for the pine posts that would be attached to the plywood back.
With the length cut to the correct size, the next step is to cut the plywood back to the correct height, which as I mentioned earlier, I wanted to be 23 inches wide. This was easily done with my trusty Dremel Ultra-Saw.
Taking the 2 pine posts that I cut the 2 grooves into earlier, I did a test fit of the back by seating the plywood into one of the grooves in the pine posts, making sure that the "empty" groove in the posts were both facing the same direction.
If everything went well, the plywood should seat snugly into the groove and the top of the plywood should be flush with the top of the posts.
Once I was satisfied that the plywood back was fitting properly into the posts, the next step was to secure the plywood to the posts.
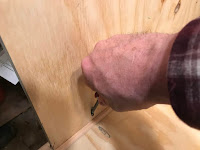
A few years ago I picked up a Kreg pocket joint jig which makes angled pilot holes for screwing two pieces of wood together relatively easily. To do this, I first marked four spots on the side of the desk back that will be facing forward (where the pocket holes will not be very visible). I made the marks four inches in from the top and bottom of the plywood on each end of the plywood sheet.
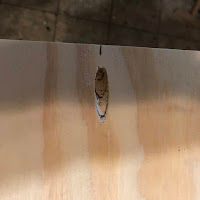
At the spots that had I marked, I then clamped the jig to the plywood and drilled a pocket hole into the plywood.
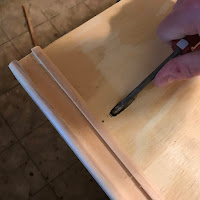
Once the holes were drilled I then partially screwed in a 1.5-inch wood screw into each hole.
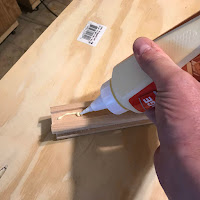
I then applied a little bit of wood glue into the slot on the two posts and attached the posts to the plywood back.
I then completed the installation by screwing all four screws in all the way so that I had a nice tight joint between the posts and the plywood.
Next, I took another 2' X 4' sheet of good one side plywood and cut it into two 23" x 19" pieces.
Like what I did with the back plywood sheet, I then drilled pocket holes on both sides of the inside of the plywood panels and attached the other 2 pine posts (the ones that only have one groove cut into them) to one end of each of the panels with some wood glue and screws.
The last step is to attach the other end of the side panels into the grooves into the posts that are attached to the back plywood panel and hold them in place with some wood glue and screws.
With the construction complete, the final step was to give the desk body a detailed sanding with a series of finer grit sandpaper and applied few coats of Minwax Polyshades varnish.
In between the coats of varnish I gave everything a light sanding with fine steel wool.
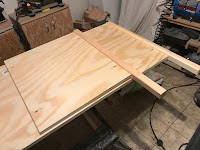
I then gave the desktop and desk body a quick test fit. It's definitely starting to look like a desk.
But we really need to add some drawers...
















No comments:
Post a Comment