While I do not consider myself an "old fart", my oldest child is currently in his third year of a microbiology major at university (let's just say that I'm on the "older" end of Gen X then).
While I personally pursued a career in IT, spending time looking at tiny things with a microscope is a bit of a family tradition since my father spent part of his career looking at rather nasty bugs during his time as a veterinarian.
In the early part of his career, my father had acquired a microscope where as a kid, I remember watching him using it and sometimes taking a peek myself at the microscopic world that it revealed.
That microscope has spent many years stored away in the back of a closet, however when my own son wanted to take up the family trade, so to speak, My father figured it was time to pass the torch (or in this case, microscope) on to the next generation.
While the old microscope still had lots of life left in it, it was missing one critical piece - the light for the microscope had gotten lost in the mists of time.
Since I never really had much use for the microscope myself, I did want to add my part to the passing of the tradition - and with that, a new microscope light came to be.
This light needed to:
- be lit with LED's
- Powered by a common 5 volt USB power source
With that in mind, I decided to build the light out of some scrap red cedar that I had and to also turn it into an excuse to practice my turning skills on my lathe.
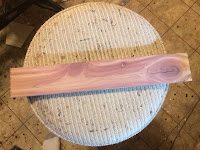
To start the build I first took a length of 3 inches wide and 1/2 inch thick cedar and cut it into four 3 inch X 3-inch squares.
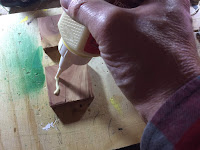
I then glued and clamped the 4 pieces together so that I had a 2-inch thick square block of cedar.
Once the glue in the cedar block had dried, the next step was to mount the block to the lathe.
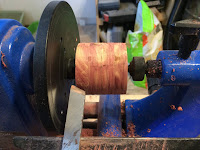
I first started the lathe at a low RPM setting and with my rough gouge I slowly chipped away at the corners of the block until I start to see the block take on more of a cylinder shape,
I then upped the speed of the lathe and continuing with the roughing gouge, I continued to chip away at the wood until the cedar had a more refined cylindrical shape.
Next, I took my skew chisel and carefully rounded over the outside edges of the cedar cylinder.
After the edges were rounded over, I then took my parting chisel and put a couple of decorative grooves into the sides of the cedar cylinder.
To finish off the lathe work, I slowed down the speed of the lathe a little bit and gave the cedar cylinder a smooth finish by successively sanding it with 120, 220 and 400 grit sandpaper.
Removing the wood piece from the lathe, I now had a perfectly shaped cedar cylinder.
Putting the wood cylinder aside for a moment, I then worked on getting the electrical parts of the light prepared.
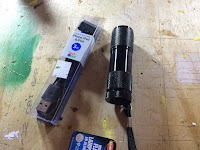
The main electrical components were easily sourced from my local dollar store and in effect comprises of only 2 parts:
- A cheap LED mini flashlight
- A USB charging cable for a phone (type of phone doesn't matter).
All the parts cost me a princely sum of 2 dollars.
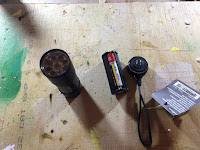
The first step was to remove the LED module from the flashlight. I accomplished this by cutting off the body of the flashlight just behind the LEDs with a rotary tool.
With the body removed, the LED module just simply popped out.
Next, I prepared the USB cable.
To do that I simply removed the non-USB end (the one that would have plugged into the phone) of the cable with wire cutters.
Next, I stripped off the outer insulation on the end that I just cut off until the wires inside were exposed.
I then cut all the inner wires except for the red and black wires (which are the power wires for the USB).
Finally, I removed the insulation from the ends of the black and red wires.
With the electronic bits prepared, I then returned my attention back to the cedar cylinder.
I needed to create a cavity for the LED light module to fit inside of the cylinder. To figure out what sized hole I needed to drill I first measured the diameter of the LED module that I just removed from the flashlight. In this particular case, the LED module was about 3/4 of an inch in diameter.
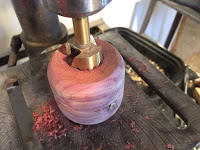
Once I had the size hole I needed I then took a Forstner bit and drilled a hole that was about a 1/8 of an inch deeper than the thickness of the LED module into one end of the cedar cylinder.
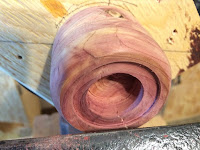
The next step was to cut a 1/8 inch deep groove along the outside perimeter of the hole that I just drilled. The purpose of the groove is to provide a mounting place for a plexiglass cover for the LED module.
To add the groove, I first remounted the cedar cylinder back onto my lathe so that the end of the cylinder with the drilled hole was facing out. I mounted the cylinder to a piece of plywood which in turn was mounted to the headstock of my lathe (making sure that the cylinder was mounted absolutely center of the headstock).
With the lathe turning at a medium speed I then put in the groove with my skew chisel.
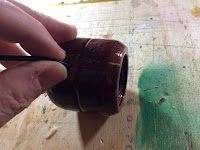
After removing the cedar cylinder from the lathe, I next drilled a 1/8 inch hole through the length of the cylinder and drilled a 1/8 inch hole through one side of the cylinder towards the bottom of the end of the cylinder that did not have the 3/4 inch hole drilled into it.
When drilling the hole in the side, I made sure that the hole intersected with the hole that I drilled through the middle.
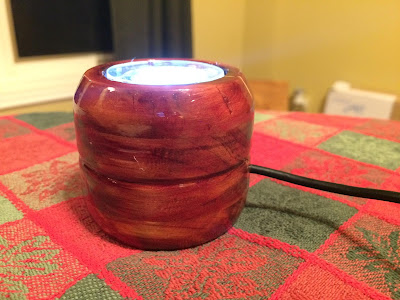
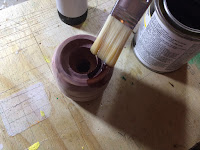
The woodworking part of this project is now complete. To wrap up that part of the project, I gave the cedar cylinder a couple of coats of varnish.
The time has finally come to install the electronics.
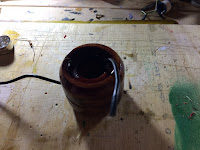
I started by fishing the cut end of the USB cable through the hole in the side of the cedar cylinder and fishing it out through the top of the cylinder.
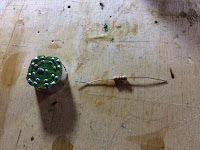
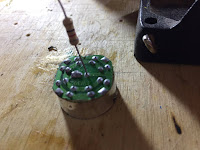
I then soldered a 100 Kilo Ohm resistor to the positive power terminal of the LED module and soldered the red wire on the USB cable to the other end of the resistor.
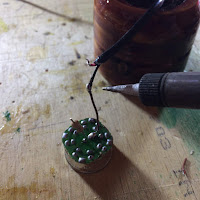
Next, I soldered the black wire on the USB cable to the negative terminal of the LED module.
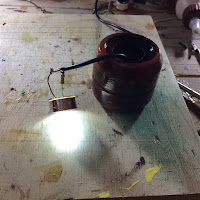
A quick test by plugging the other end of the cable into a USB power source and the LED module light right up.
With everything now wired up, I then permanently installed the LED module into the cedar cylinder with the help of a little bit of hot glue.
The final step in the build was to create a plexiglass cover for the LED module.
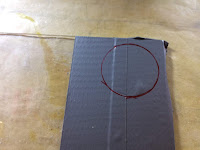
To create the cover I first covered a 1/8 inch piece of plexiglass with some duct tape in order to reduce the possibility of having the plexiglass crack while it was being cut.
In order to cut a perfect circle, I found a pencil sharpener that was the exact size of the groove that I cut into the cedar cylinder earlier.
Using the pencil sharpener I then traced a circle out on the taped plexiglass and cut the circle out with a scroll saw.
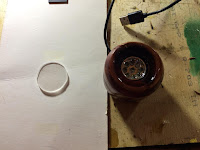
With the circle cut out and the tape removed, I then gave the plexiglass a couple of coats of frosted glass paint in order to diffuse the light from the LED module.
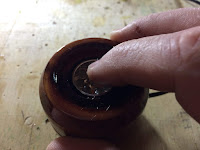
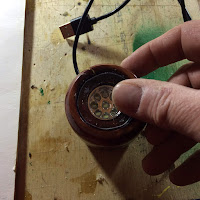
Once the paint had dried, I then installed the plexiglass into the top of the cedar cylinder with some hot glue.
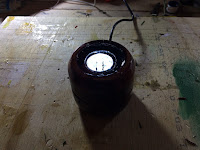
With that, the light was complete.
The light works on any 5 volt USB source - In my son's case, he just plugs it into a USB port on the laptop that he uses while he is taking notes.
The light has worked quite well for him, providing a good light source of the microscope without having to worry about breaking or burning out a light bulb from a more conventional microscope light.
Finally, the circle is complete, my son will continue on his career journey with a little bit of a contribution from his grandfather and father.




























No comments:
Post a Comment