Sunday, February 17, 2019
Putting the Junkyard Entertainment Unit Together
The last time we visited the junkyard entertainment unit, I had just finished building a cabinet to house the LCD screen.
Now that we have the 2 major pieces of the unit safely housed in their custom made cabinets, the final step is to now merge the two into one.
Due to the amount of work that were done in my previous posts, this will be actually a very straight forward process. At it's core, we just need to plug in the wiring harness from the screen into the DVD player, apply a bit of wood glue to the bottom of the screen cabinet and attach it to the top of the DVD player.
When attaching the screen cabinet I made sure to have the screen cabinet attached in the center of the DVD player while covering up the wiring harness going into the DVD player
Once the glue has dried, the screen is now permanently attached tot he DVD player.
At this point we can now finally start applying a finish to the (now combined) cabinet. Since I needed to have all the electronic components installed before I could apply varnish, I need to be extra careful that I don't gum up the works while I'm finishing the cabinet, so the speak.
The screen will have a finished frame added in the next step, so I won't be applying any varnish near the screen itself, but I do need to take some care around the DVD player.
Before varnishing, I masked off the outside edges of the DVD player face plate with some masking tape
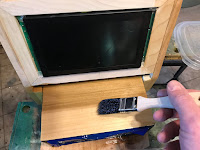
Then I applied a couple of coats of varnish to the cabinet. While I applied the varnish, I also made sure to not apply too much varnish around the ventilation hole for the DVD player.
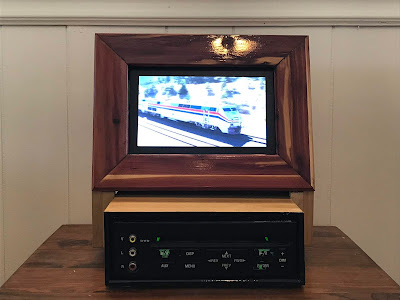
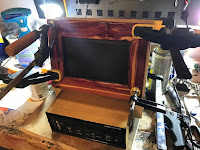
Next we need to add the finishing touch to the LCD screen. As I mentioned in a previous post I wanted to create the illusion of having the screen look like a framed picture. In order to create that feel, I made a picture frame out of some 2 inch wide red cedar that I had left over from a previous project.
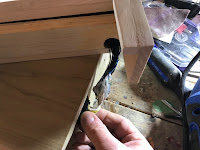
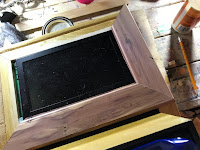
Creating the frame itself was basically cutting the cedar pieces to size so that the cedar pieces will fit neatly around the screen.Once the pieces were cut to size, the frame was assembled using wood glue and corner clamps.
After the glue was dry the frame was given a quick sanding followed by a couple of coats of varnish.
Finally the frame was attached to the screen with some wood glue and clamps.
Now that the screen was taken care of, we now focused our attention to the back of the entertainment unit.
In one of my earlier posts, I built and tested out a couple of infra red transmitters in order to provide the sound for the DVD player. The time has come to permanently install the transmitters into the cabinet,
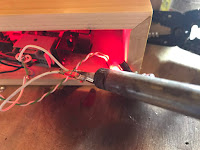
I first soldered a couple of wires with DuPont female connectors connected to them to the positive and negative leads for the power connector for the DVD player.
Next I took a 1/8 inch phono jack plug and soldered the left side speaker wires on the DVD player wiring harness to it.
I then plugged the audio jack into the infrared transmitter followed by the DuPont connectors being plugged into the transmitter's power sockets
I gave everything a quick test by plugging in the DVD player into a power source.
If things went well, the LED on the transmitter should light up and you should hear sound if you aim an infrared receiver at the transmitter.
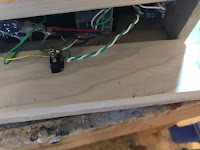
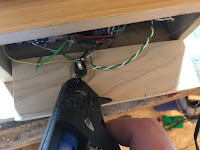
Once everything checks out, insert the infrared LED of the transmitter into the hole in the left side of the DVD cabinet and hold it in place with some hot glue.
Repeat the process again for the right side infrared transmitter.
The last step is to button up the back of the DVD cabinet.
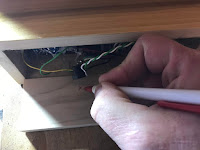
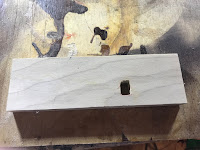
I took a 2.25 inch by 7 inch piece of 1/2 inch birch and I marked out the location for the power socket for the DVD player.
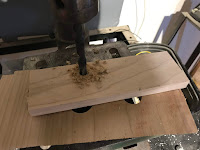
I then drilled a 3/8 inch hole at that spot and widened out the hole a little bit with a rotary tool.
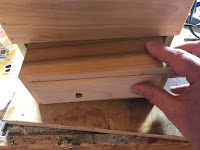
After that I installed the power socket into the hole, secured it in place with some hot glue and installed the birch back into the cabinet - I wanted to make the back friction fit into the case in order to allow for easier access if I need to access the infrared transmitters at some time in the future.
With that the entertainment unit was complete - except for a small exception.....
We still need speakers.
Back to the shop then.....
Subscribe to:
Post Comments (Atom)












No comments:
Post a Comment